How to assemble a 3x3x3 Speed Cube
Some people may have wondered how to assemble a 3x3x3 Rubik's Cube, or maybe yours has just fallen apart? Well, here we will get the core of that question and help you re-assemble your Rubik's cube.
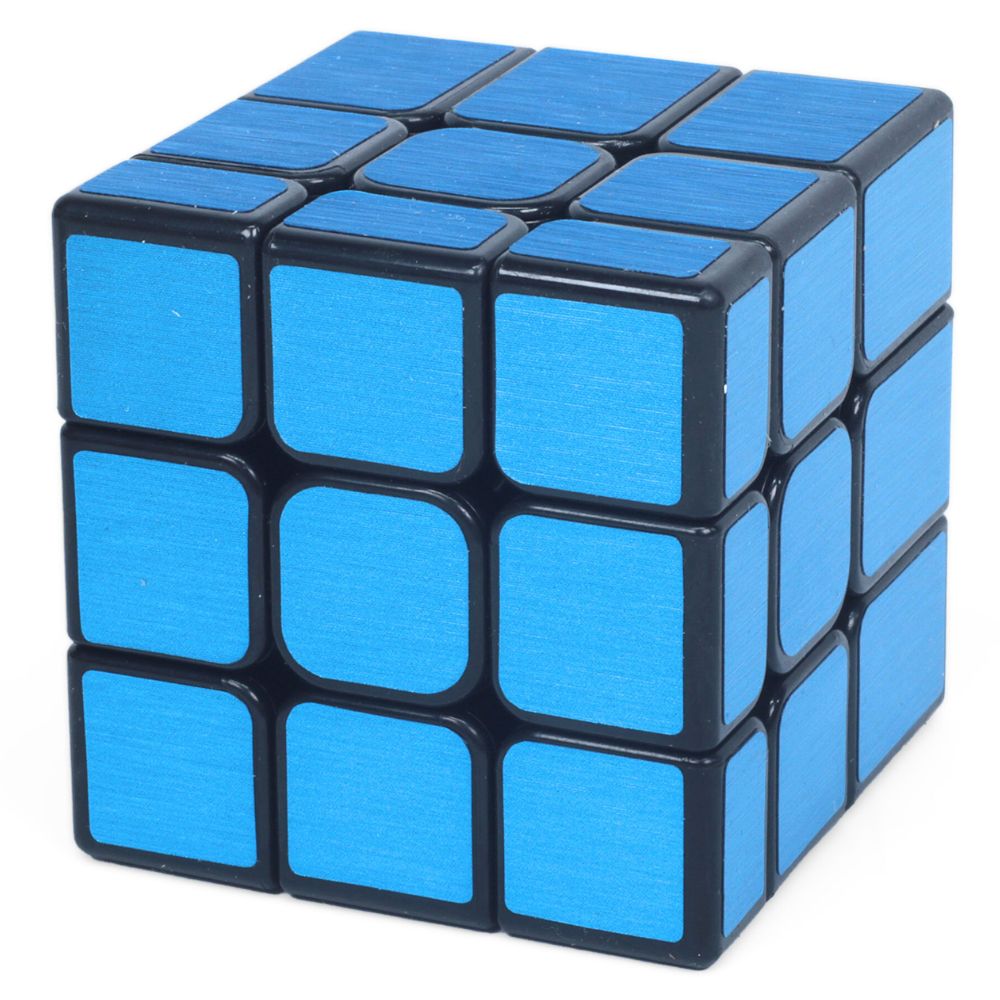
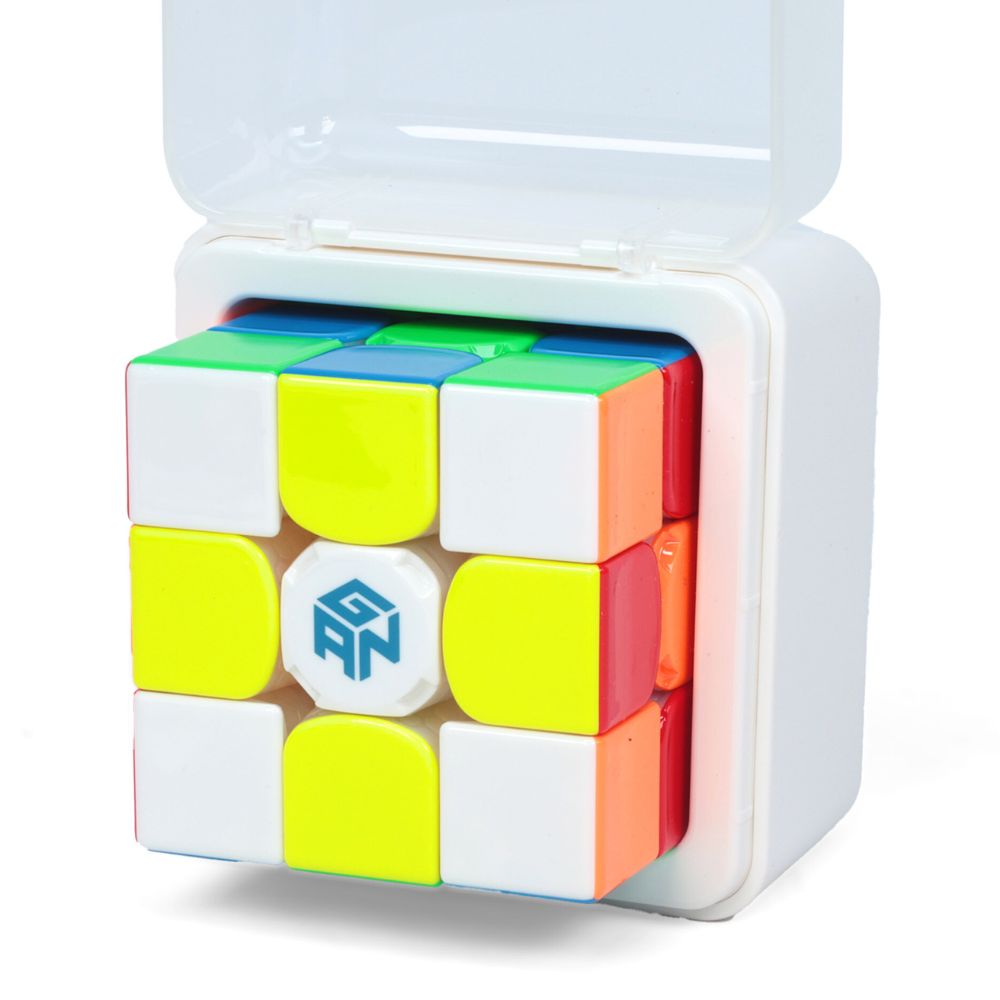
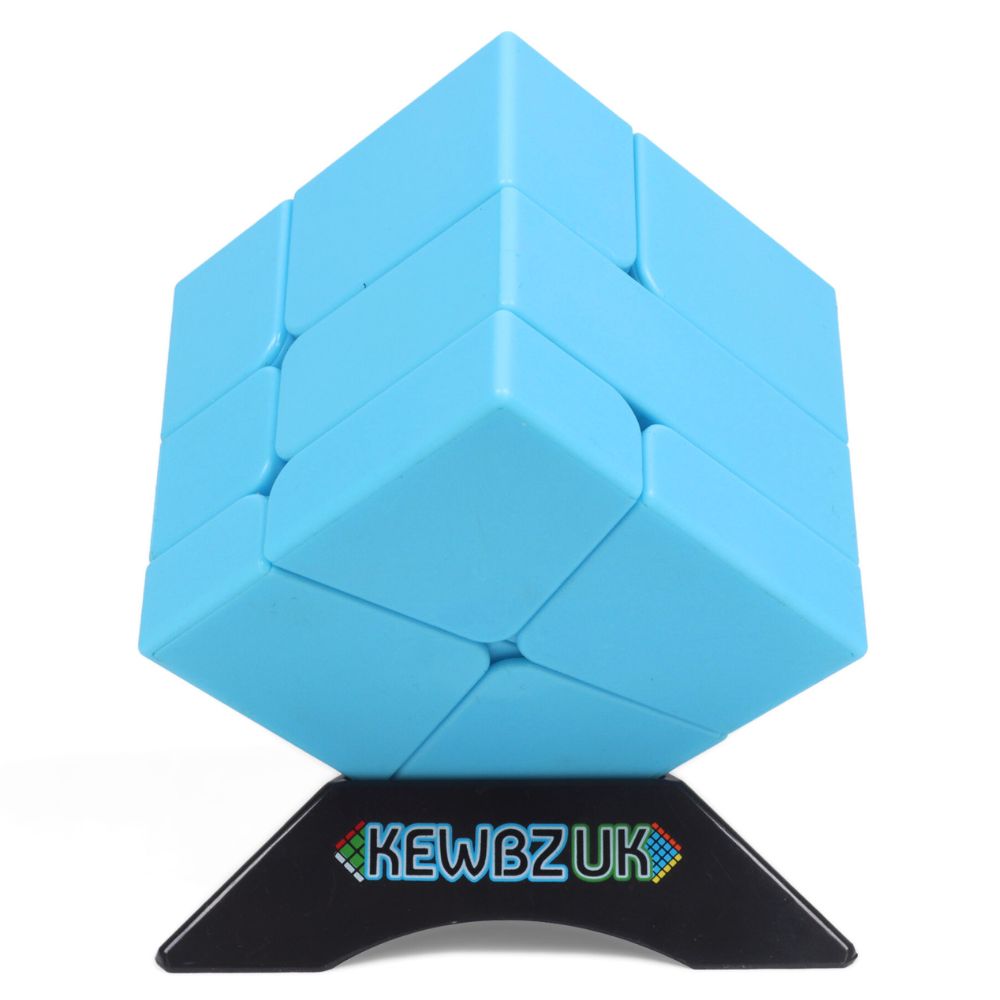
Please Note: All images used in this guide are generic pictures of 3x3 Speed Cubes and may not be genuine Rubik's brand cubes. All images are for illustrational and educational purposes only.
First of all we want to separate our corner pieces from our edge piece as I have done in the image below.

We can now start to assemble our puzzle. In this guide I will be starting with the blue side, if you are new to this I would recommend following us and also starting with the blue side.
Find your blue/pink piece (Your Rubik's Cube may not have a pink side as I am using a QJ Candy magic cube). Slide this piece between the blue and pink centre pieces.


Lay your puzzle on a table with the blue cross on the bottom. Find the blue/pink/yellow corner piece (again you may or may not have a pink side, yours may be a different colour). Place it into the correct corner gap with the blue side obviously facing down.

Repeat this with every side until the whole blue face has been completed, like the image below.

Now for the fun part and almost final step. Again, lay your puzzle cube down on the table with the blue side down again. Find your pink/white piece and place it in between the pink and white centre pieces just like the image below.

Repeat the previous step until the whole 2nd layer of your Rubik's Cube has been completed.

Pop the centre cap off of the green centre piece and undo the screw slightly (not all of the way but enough to loosen the centre piece).
Please Note: Not all Rubik's Cubes allow this kind of adjustment, if yours doesn't then skip to the next step.

Now onto the final layer. Simply find your green/pink edge piece and place it between the green and pink centre pieces.

Instead of carrying on fitting all the edge pieces, we now have to work in either a clockwise or anti-clockwise rotation fitting the correct pieces as we go. So, find your green/pink/white corner piece and place it next to the edge piece we just fitted.

Carry on placing the edge/corner piece onto your magic puzzle until we get to the last one. This one can be slightly tricky (depending on how tight your cube is). If you have the adjustment screw under the centre piece then loosen it a little bit more if you are struggling.

The only way to get this last piece in is a little bit of fiddling. Simply grab your corner piece and push it in. Some may go in easier than others but all in all it wont be that hard to get it in there. Once you have put all of your cube back together don't forget to tighten your screw back up and replace the centre cap.
Please Note: You don't want to tighten it up to much. Tighten the screw slightly - turn the face - tighten the screw - turn the face (you get the idea, we don't want it too tight, or too loose).

Your Rubik's Cube should not be complete built (and solved). Congratulations. If this guide helped you, please share it with other and help the cubing community.


